
Revamping Band Tees (Part Four)
An 8123 Community blog by Trisha Pham.
This blog is a continuation of the ongoing series - Revamping Band Tees. Take a look at the previous posts for more tee inspo!
Repurpose
Sometimes you have shirts that you, quite frankly, just can’t bring yourself to wear out in public anymore. Whether it’s because it’s too old, the band broke up, or it’s your high school boyfriend’s shirt, we all have those shirts that we love but not enough to wear out, but we still can’t let go of them. What do we do with them? Here are a few ideas, with minimal/optional sewing techniques.
Accessories Travel Pouch
This pouch can hold any small items you want, from toiletries and makeup, to charger cords for your small devices, to crafting items, like how I ended up using mine. Best of all, it requires little to no sewing (which is great because I can only hand-sew, but I also don’t have the most coordinated hands).
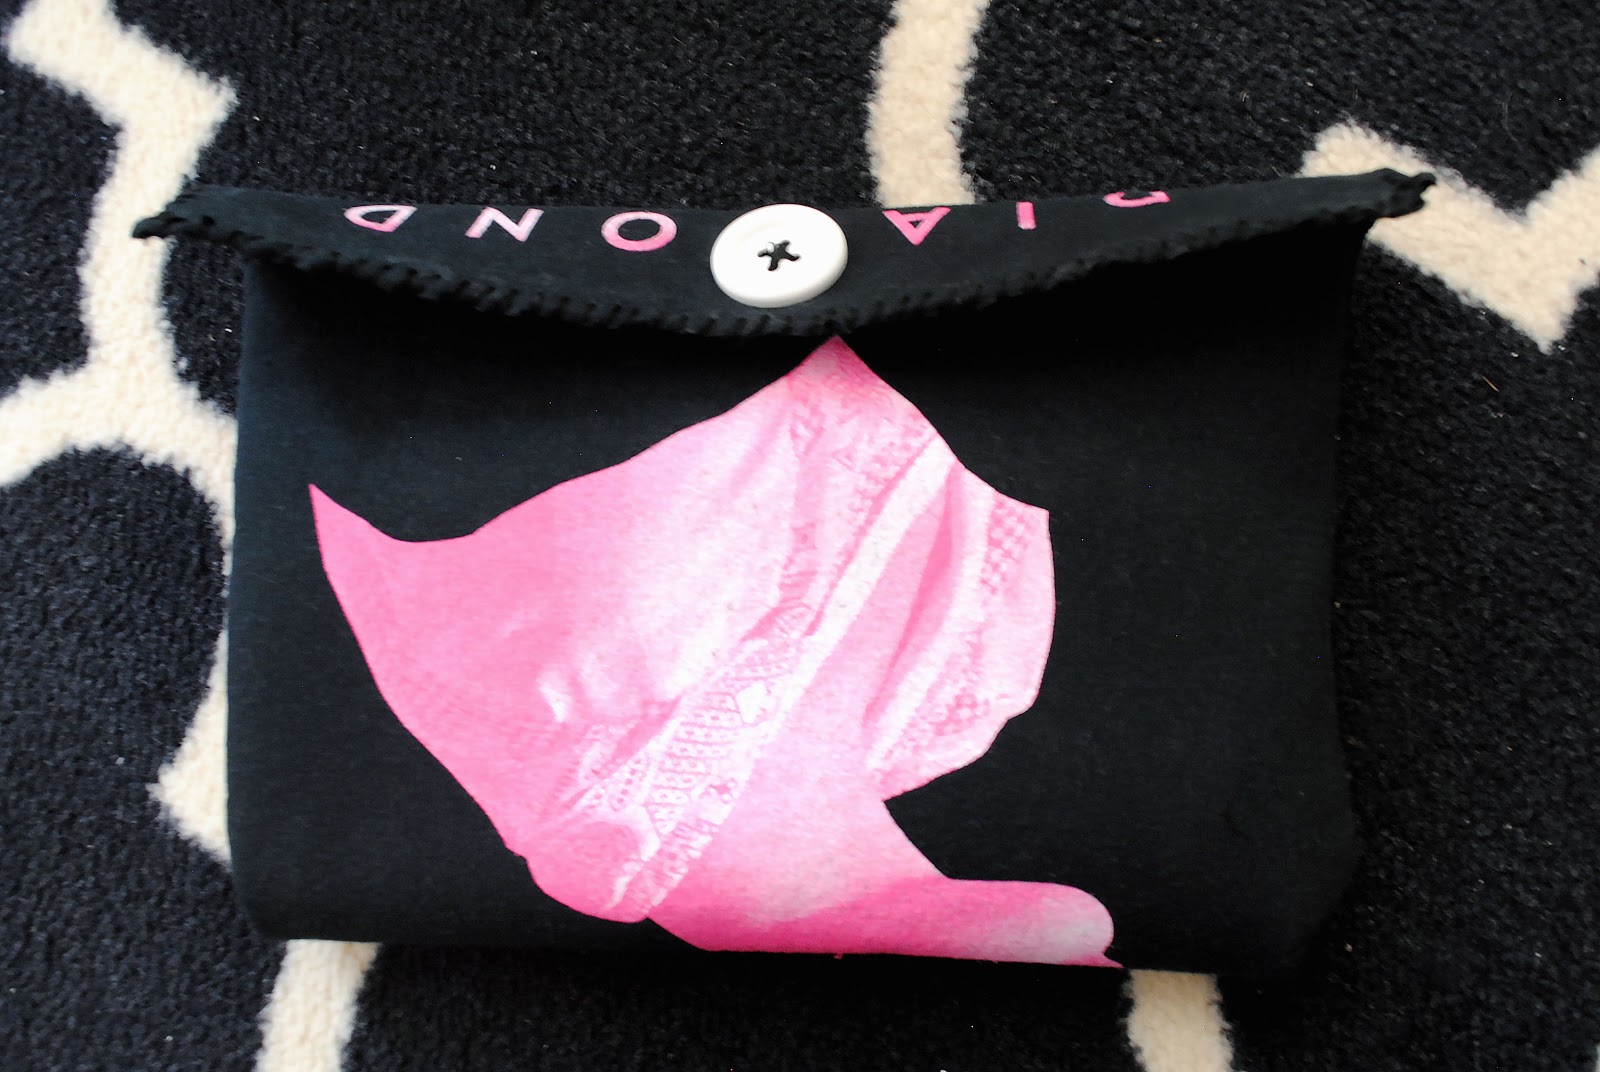

- Materials: band tee, (1) 12 in. x 18 in. sheet of felt (your color choice), X-Acto knife (or any similar crafting blade), scissors, large button (your color choice), embroidery thread (your color choice), embroidery needle, permanent fabric glue, tape (I used gaffer’s tape since it’s strong but doesn’t leave a residue but any similar tape can work)

Instructions:
Lay your band tee on a flat surface. Lay your felt sheet over the graphic, and measure out the area according to the size of your sheet.


2. Tape along the edges of your sheet of felt to create your cutting guide.


3. Slowly and carefully cut along the inside edges of your tape.


4. Place your graphic on the side. Lay out your large felt sheet. Sparingly place dots and dashes of fabric glue onto its surface.

5. Carefully and slowly, take your graphic and place over the felt. Smooth out any bumps and bubbles with your palm. Let it dry for 30 minutes.


6. Flip your piece over (graphic side down). Trim off any fabric excess on the edges, if necessary. Flip your piece back over.


7. Take your piece and fold it in half, “hamburger-style”, with the graphic inside. Leave an inch and a half overlapping. Use safety pins to secure the top corners of the fold on both sides.


8. Thread your needle and sew along the parallel sides. If you don’t want to sew, you can place fabric glue on the edges of the parallel sides (on the side where the graphic is), press down, place a heavy object over your piece, and allow it to dry for about 30 minutes.


9. Flip your pouch inside out. Place your button where you want it to be.


10. Thread your needle, if needed, and sew your button on.


11. Fold down the flap. Gauge where your button is underneath the flap. Make a mark if needed. Take your crafting knife, and create a slit for the buttonhole.

12. Glue down any loose fabric on the edges of your flap. You can also glue the fabric in the buttonhole, if needed.

13. Also optional: if your flap’s edges look a little rough, you can stitch around the edges for a more finished look.


14. Place whatever small items you desire in your pouch, and close the flap. You’re done!

