Revamping Band Tees (Part Five)
An 8123 Community blog by Trisha Pham.
This blog is part five in an ongoing series - be sure to check the blog to read the previous installments!
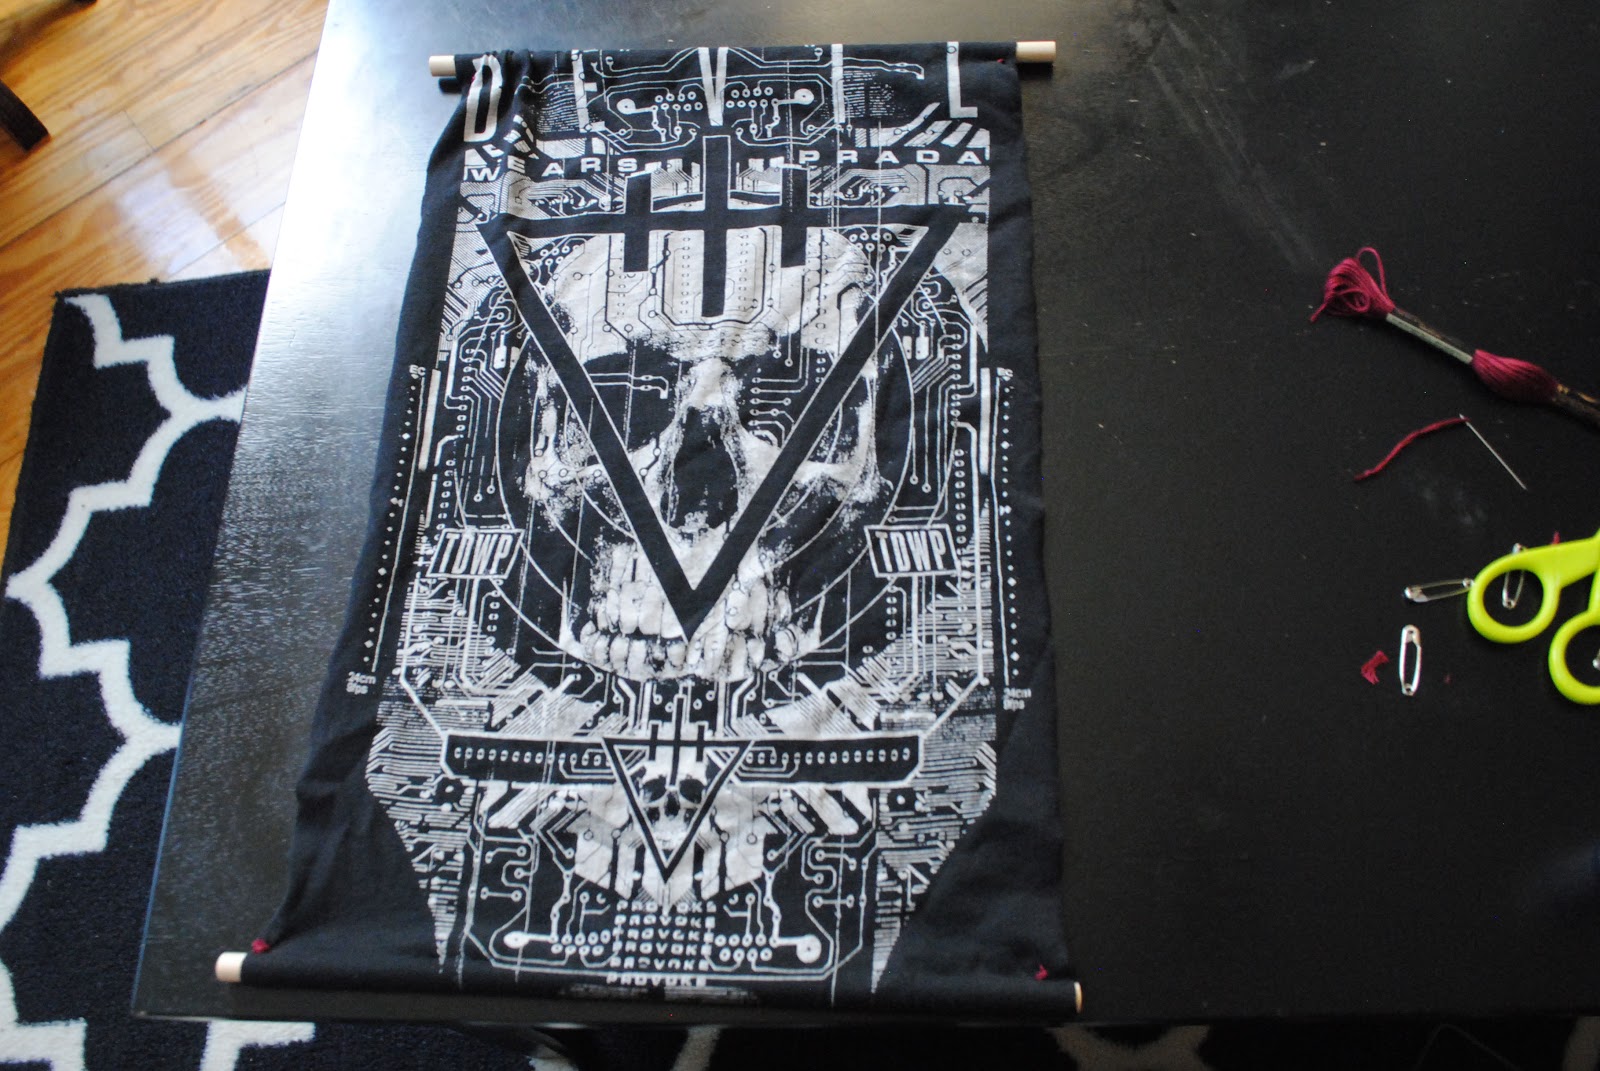
Tapestry Banner
This project allows you to still wear your memories with pride, but on your walls!

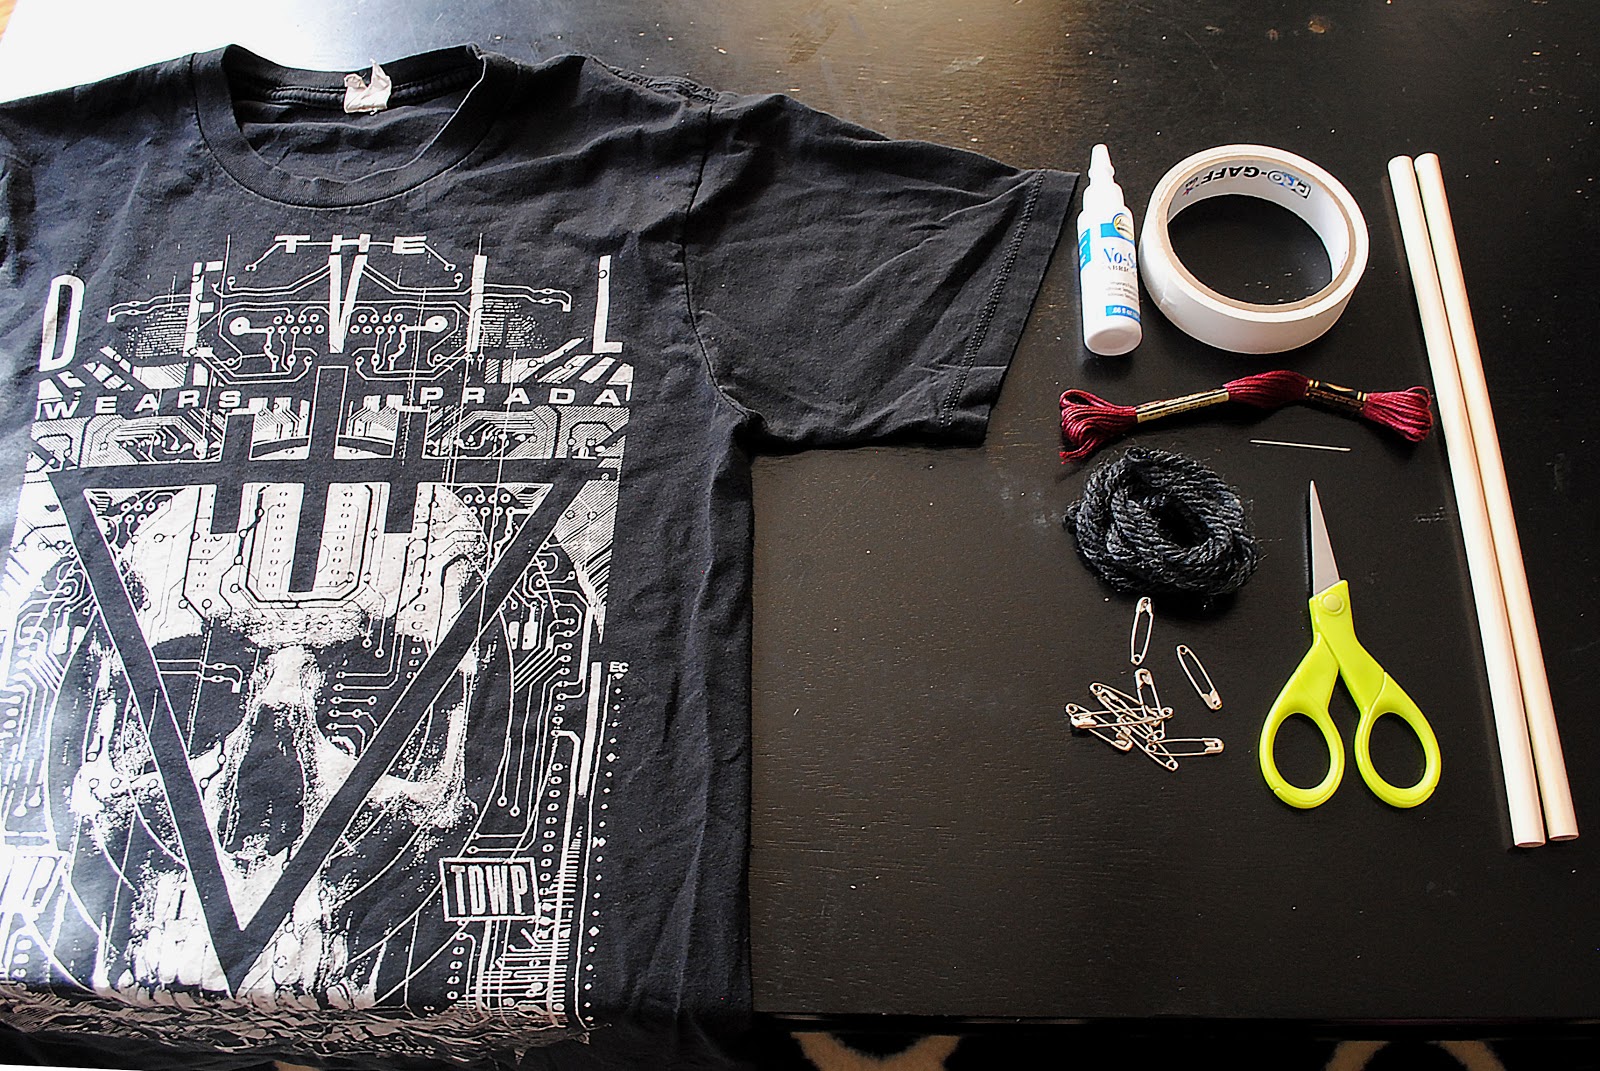
- Materials: band tee, (2) wooden dowel rods (any size depending on your graphic size; I used 3/8th in. x 12 in. ones), scissors, tape, thick string, safety pins, fabric glue, needle & thread (optional)
Instructions:
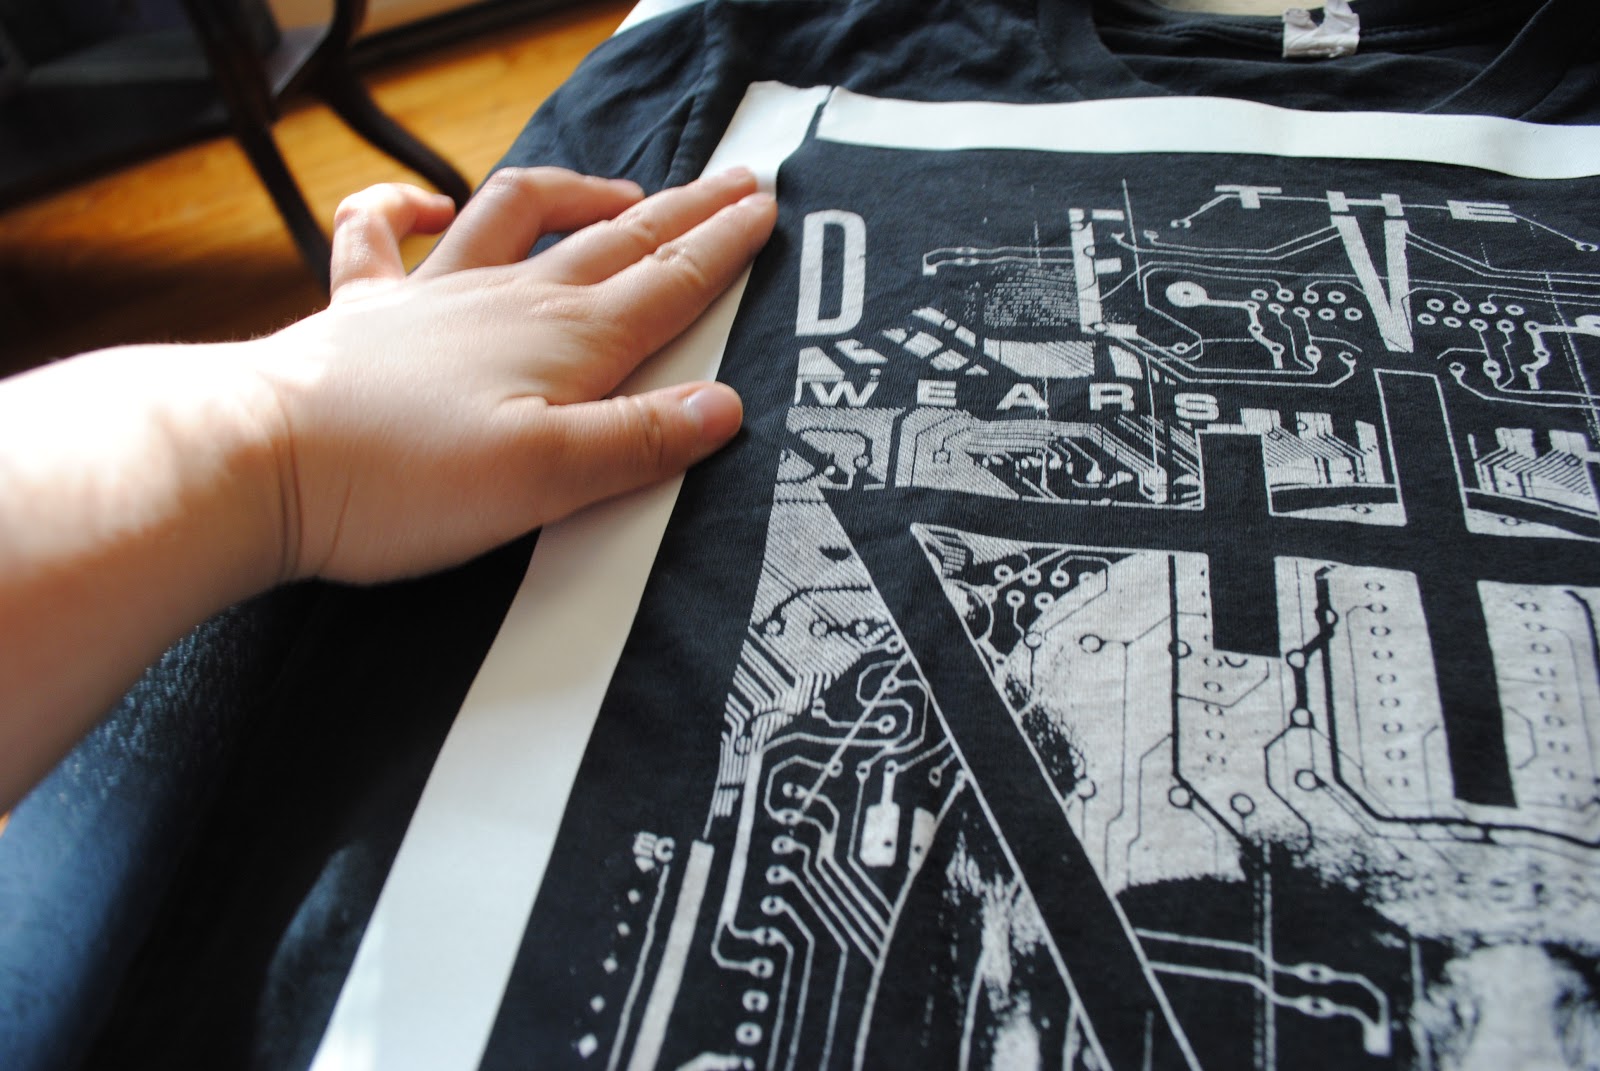
Lay out your band tee on a flat surface. Determine the area of your graphic that you would like you use. Tape the area around the borders of your graphic.


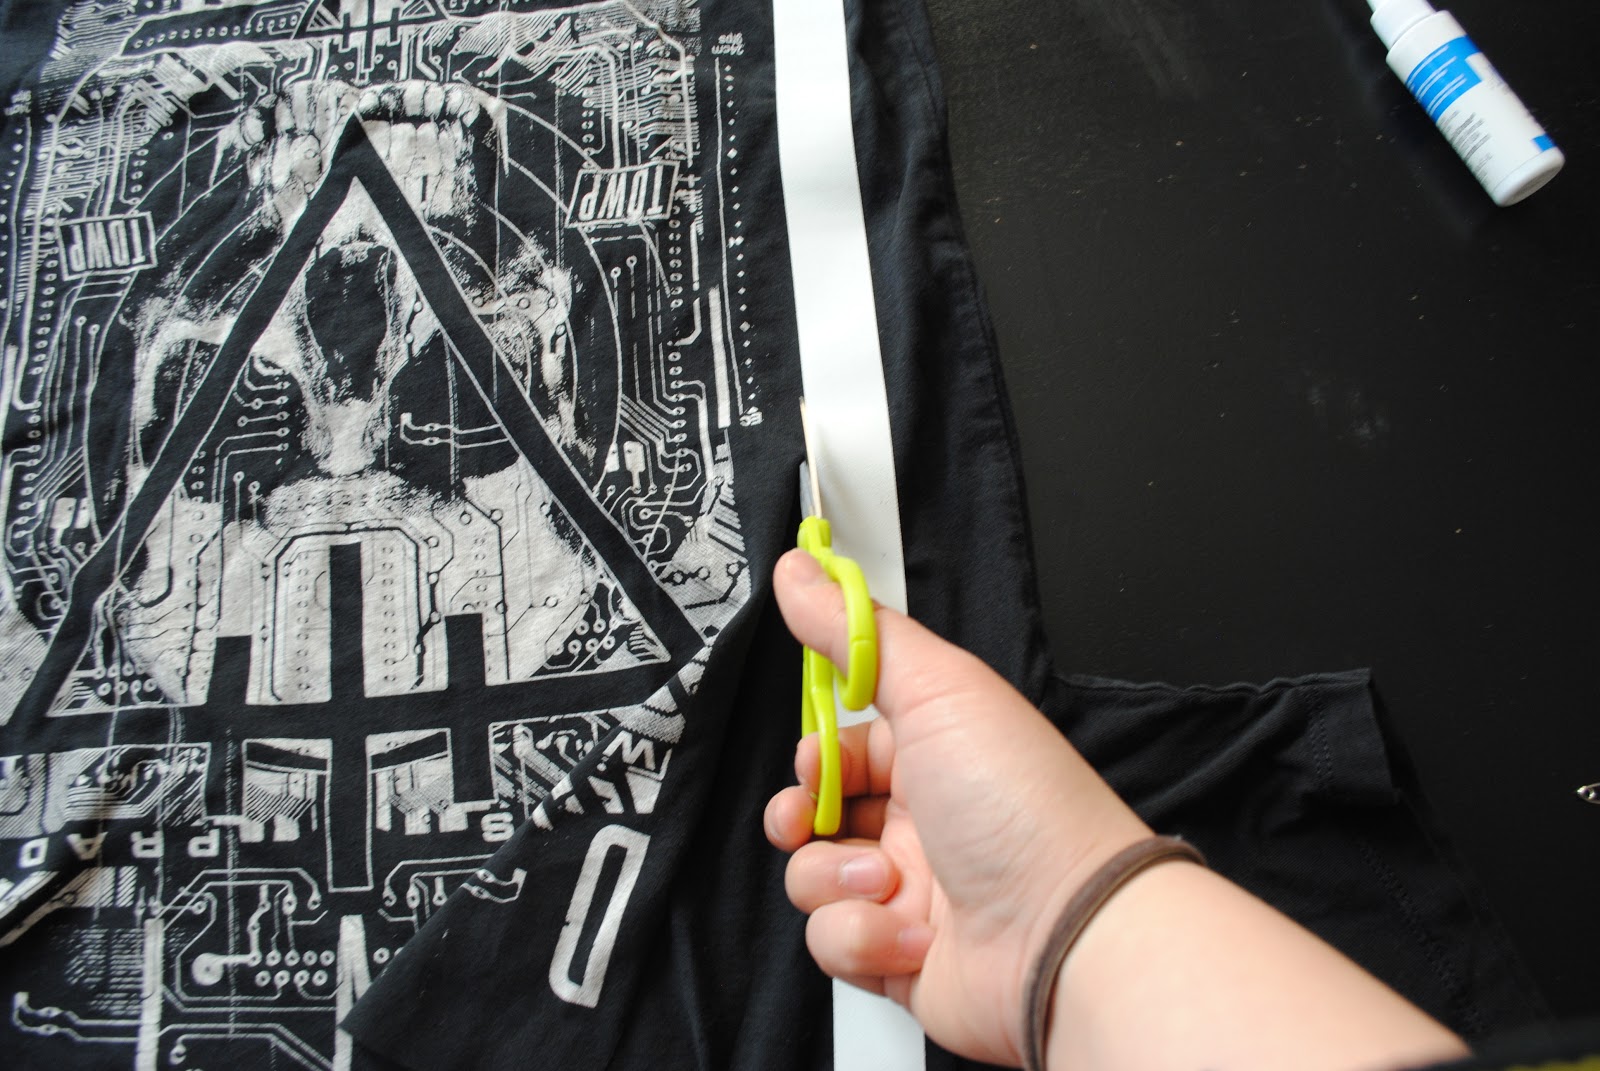
2. Carefully cut along the inside edges of your tape.


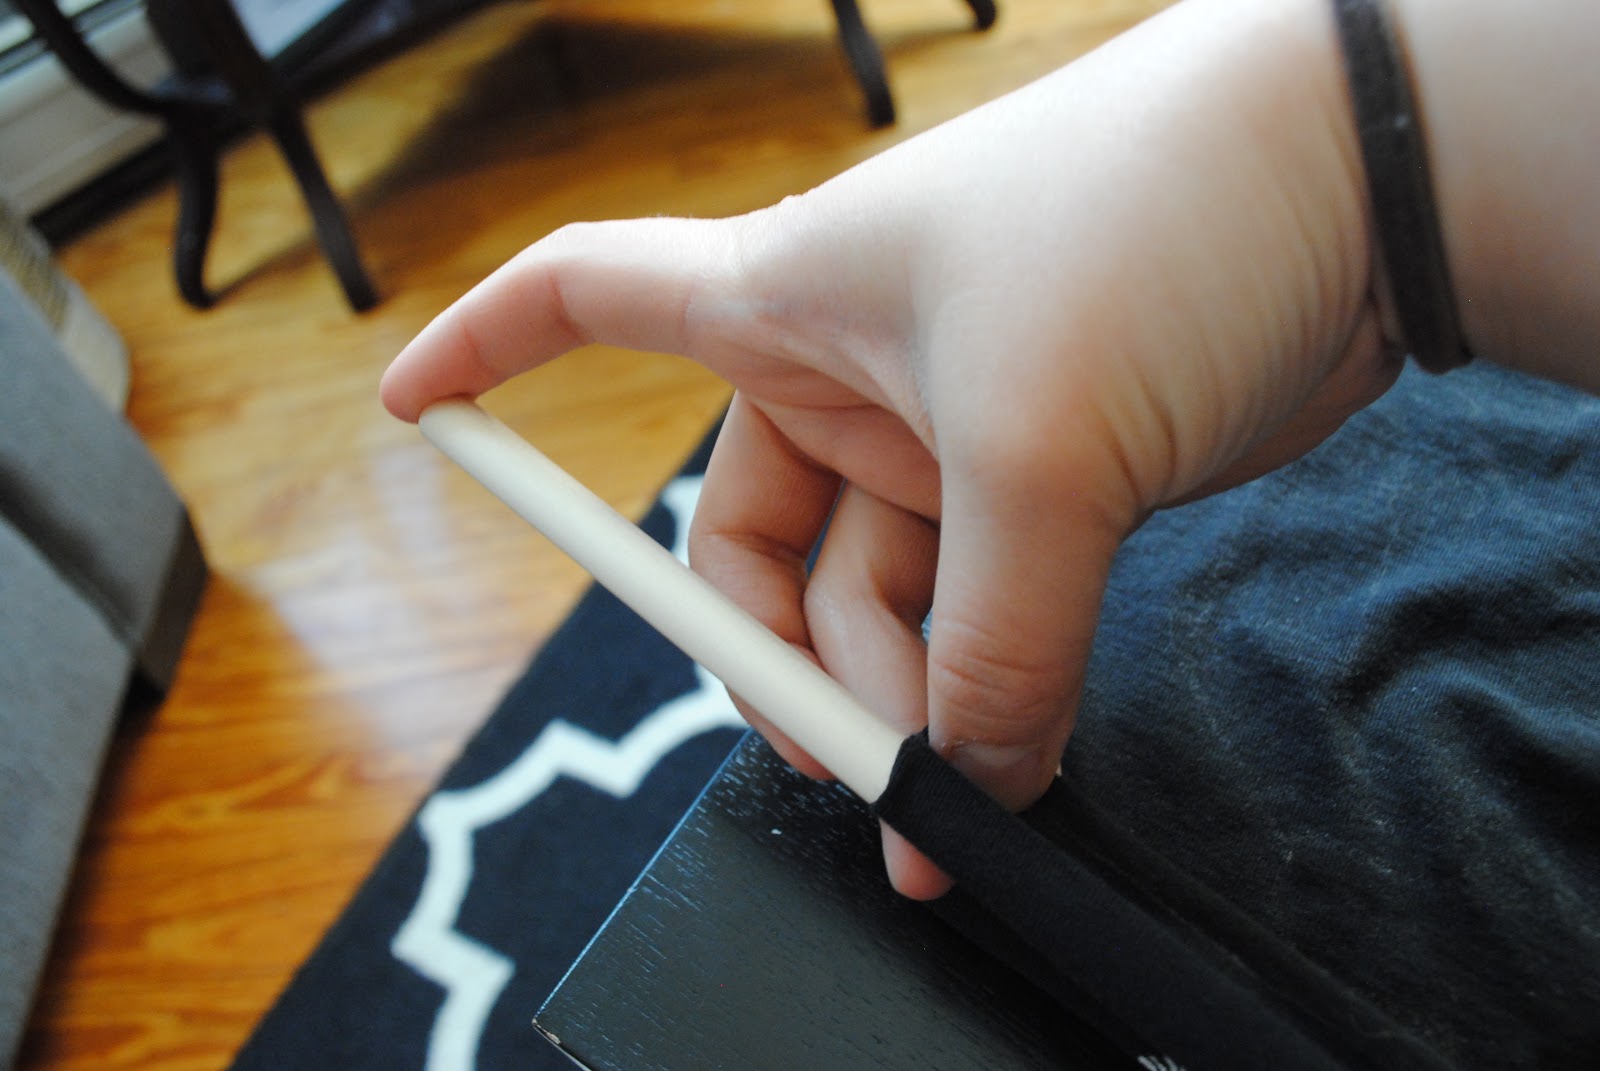
3. Flip your graphic over. Take a dowel rod and place above the bottom edge of your graphic.

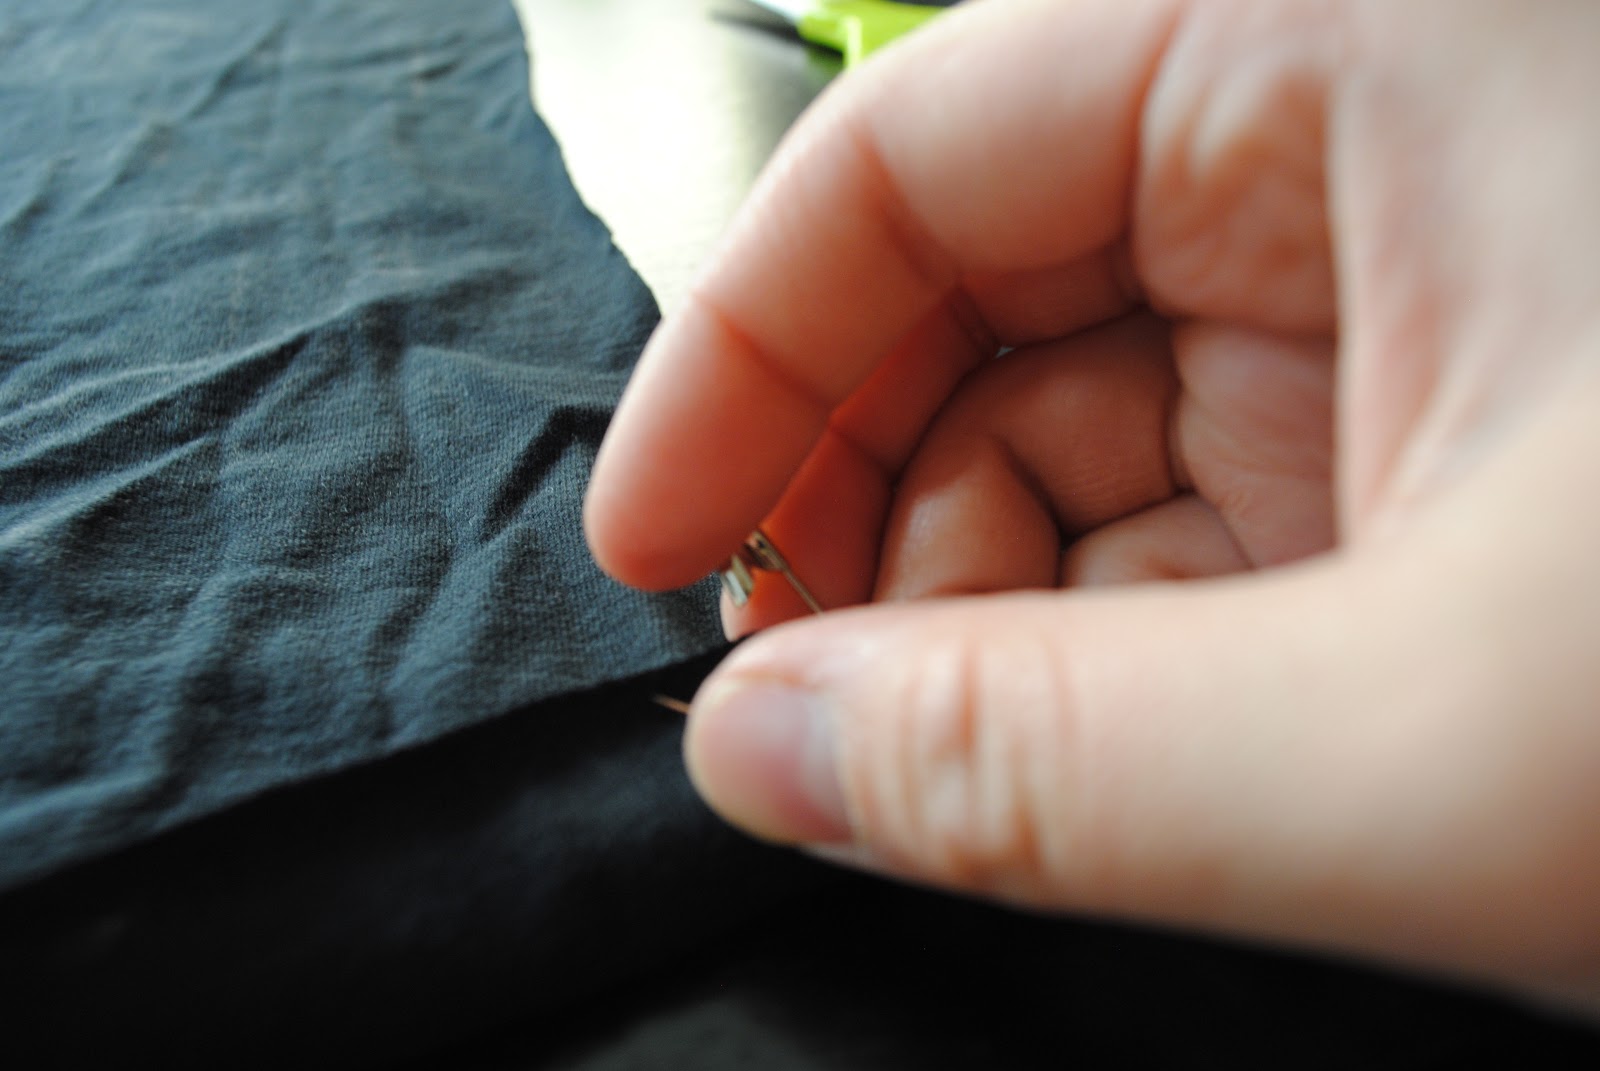
4. Fold the edge over the rod until it is covered, leaving about ½ a centimeter of extra fabric. Use safety pins to pin the sides to hold your fold.

5. Remove your dowel rod by pulling it out from the side. Sparingly spread fabric glue on the edge of your overlapping fabric, starting from the center. Press down.


6. Remove the safety pins, and glue those corner edges down. Let your piece dry for 20 minutes.

7. Repeat 4-6 on the top side of your piece.

8. Optional: Once your piece is dry, you can make a small stitch on each edge corner for extra security.

9. Guide your rods back into the top and bottom sleeves.

10. Scrunch the top of the banner into the center of your rods, leaving about an inch on the sides. Take your string, and tie each side twice. Cut off any excess.


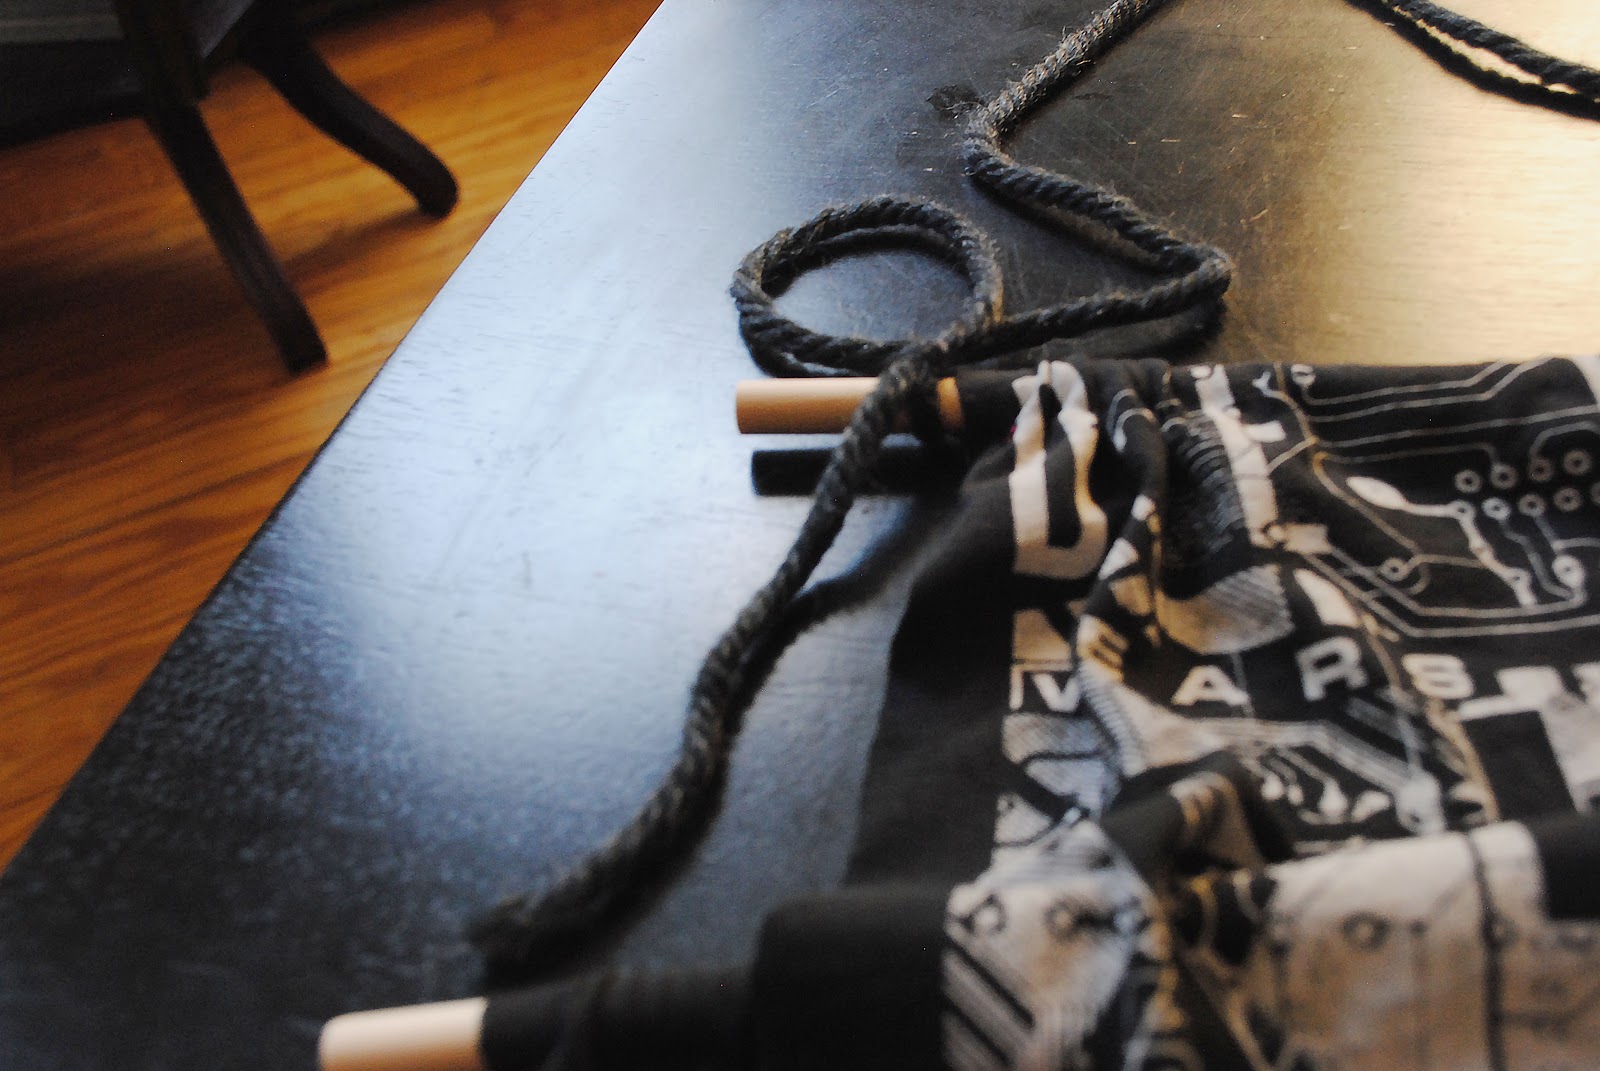


11. Straighten out the top of your banner as needed. Now your new tapestry is ready to be hung anywhere you wish!